A landscape maintenance checklist is essential for ensuring vibrant and healthy outdoor spaces. It helps track daily, weekly, and seasonal tasks to maintain beauty and functionality effectively.

Daily Landscape Maintenance Tasks
Daily tasks include debris removal, watering plants, and cleaning leaves. Regular checks for pests and weeds ensure a healthy and well-maintained outdoor space consistently.
2.1 Debris Removal
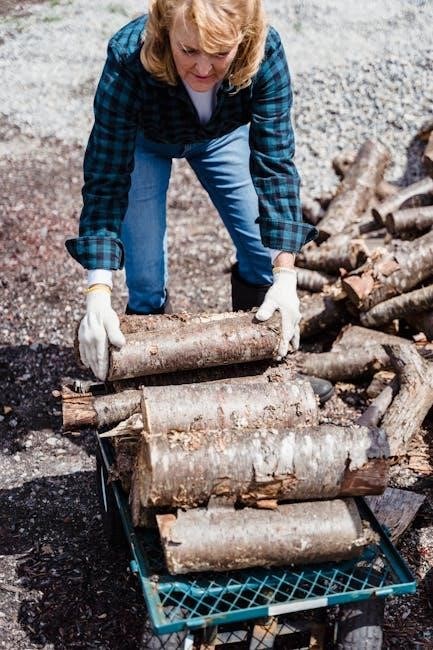
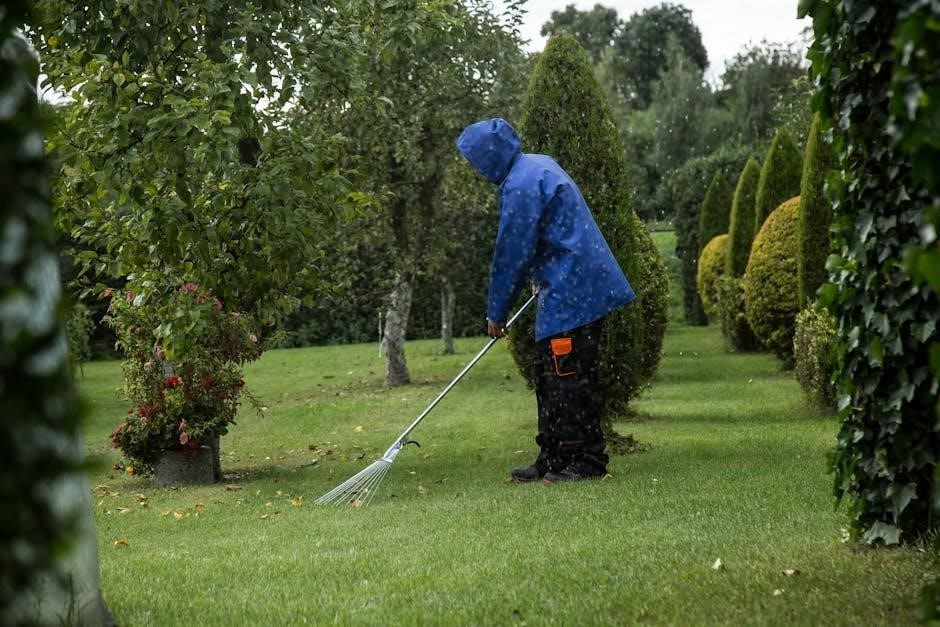
Debris removal is a critical daily task to maintain a clean and safe landscape. Regularly clear leaves, branches, and other materials that may accumulate. This ensures proper sunlight penetration for plants and prevents potential hazards. Use appropriate tools like rakes or blowers for efficient cleanup. Additionally, dispose of collected debris responsibly to maintain environmental health. A well-kept area not only enhances aesthetic appeal but also promotes healthy plant growth and reduces risks associated with tripping or damage to hardscapes. Incorporate debris removal into your routine to preserve your landscape’s beauty and functionality year-round.
2.2 Watering Plants
Proper watering is vital for plant health and growth. Water plants deeply but avoid overwatering, which can harm roots. Use soaker hoses or drip irrigation for efficiency. Check soil moisture by inserting a finger or tool. Water during early morning or late afternoon to minimize evaporation. Adjust frequency based on weather conditions. For newly planted trees and shrubs, water regularly, especially during dry spells. Use tree bags to retain moisture in young plants. Monitor for signs of under- or overwatering, such as wilting or yellowing leaves. Maintain consistent watering schedules to ensure strong, healthy plant development throughout the growing season.
Weekly Landscape Maintenance Tasks
Weekly tasks include mowing lawns, edging, and trimming shrubs to maintain a neat appearance. Remove weeds and debris to ensure plant health and a polished landscape.
3.1 Mowing Lawns
Mowing lawns is a weekly task for maintaining a neat appearance. Set mower height appropriately for the grass type to prevent stress. Leave clippings to act as natural fertilizer. Ensure a clean cut by using a sharp blade and avoid mowing wet grass, which can tear the blades and spread diseases. Edging around flower beds and hardscapes enhances the overall aesthetic. Always wear protective gear and check for debris before mowing to prevent damage. Regular mowing promotes healthy grass growth and maintains a manicured look.
3.2 Edging
Edging is a weekly task that involves creating clean lines around gardens, sidewalks, and driveways; Use tools like string trimmers or edgers to define boundaries and improve aesthetics. Regular edging prevents overgrowth and keeps grass from encroaching on hardscapes. For best results, edge after mowing to ensure visibility of edges. Maintain tool sharpness to avoid tearing plants. This task not only enhances curb appeal but also prevents weeds from spreading. Proper edging techniques ensure a polished look, making it a crucial part of weekly landscape maintenance. Always wear protective gear and work carefully to avoid damage to surrounding surfaces.
Monthly Landscape Maintenance Tasks
Monthly tasks focus on fertilizing, mulching, and soil care to promote plant health and vibrant appearance. Regular checks ensure long-term landscape vitality and prevent potential issues.
4.1 Fertilizing
Fertilizing is a crucial monthly task that ensures plant health and vitality. Use specific fertilizers tailored to your plants’ needs, following the manufacturer’s instructions to avoid over-fertilization. Test soil regularly to determine nutrient levels and adjust accordingly. Organic options like compost or manure can enhance soil fertility naturally. Proper fertilization promotes lush growth, vibrant colors, and resistance to pests and diseases. Keep track of fertilization schedules using your checklist to maintain consistent plant care and achieve optimal results for your landscape.
4.2 Mulching
Mulching is a monthly task that enhances soil health and landscape aesthetics. Apply a 2- to 3-inch layer of organic mulch like wood chips or bark to retain moisture, suppress weeds, and regulate soil temperature. Avoid over-mulching, as it can suffocate plants. Replenish mulch as needed, especially after heavy rain or strong winds. Choose mulch types suitable for your plants and climate. Mulching reduces soil erosion, improves nutrient retention, and creates a visually appealing landscape. Use your checklist to schedule mulching sessions and ensure consistent care for your outdoor spaces.

Quarterly Landscape Maintenance Tasks
Quarterly tasks include soil testing and hardscape inspections to ensure optimal landscape health and functionality. These checks help prevent issues and enhance curb appeal throughout the year.
5.1 Soil Testing
Soil testing is a critical quarterly task to assess nutrient levels, pH, and contamination. It ensures plants receive proper fertilization, preventing deficiencies and promoting healthy growth. Regular testing helps maintain soil balance, avoid over-fertilization, and address potential contaminants. This proactive approach supports long-term landscape health and sustainability. Conducting soil tests quarterly allows for timely adjustments, ensuring optimal growing conditions for plants, trees, and shrubs. It also guides fertilizer application, reducing environmental impact and enhancing overall ecosystem balance. By incorporating soil testing into your maintenance routine, you can address issues before they affect plant health and maintain a vibrant, thriving landscape year-round.
5.2 Hardscape Inspection
Hardscape inspection involves examining paved areas, walls, and structures for damage or wear. Check for cracks, uneven surfaces, and drainage issues to ensure safety and functionality. Inspect patios, walkways, and retaining walls for signs of erosion or shifting. Clean debris from joints and re-seal if necessary. Verify that lighting, water features, and irrigation systems are functioning properly. Regular inspections prevent costly repairs and maintain the aesthetic appeal of hardscapes. Addressing issues promptly ensures longevity and stability of these structures, contributing to a well-maintained and visually appealing outdoor space. This step is vital for preserving your landscape’s integrity and functionality over time.

Annual Landscape Maintenance Tasks
Annual tasks include spring cleanup, winterizing irrigation systems, and preparing plants for seasonal changes. These activities ensure your landscape remains healthy and visually appealing year-round.
6.1 Spring Cleanup
Spring cleanup is vital for preparing your landscape after winter. Remove debris, dead leaves, and branches to allow sunlight to reach plants. Prune shrubs and trees to promote healthy growth. Inspect and repair hardscapes like patios and walkways. Aerate lawns to improve drainage and airflow. Apply fresh mulch to garden beds for a polished look. Check irrigation systems for damage or leaks. Address any winter damage to ensure your landscape thrives in the upcoming season. This thorough cleanup sets the foundation for a vibrant and healthy outdoor space throughout the year.
6.2 Winterizing Irrigation Systems
Winterizing irrigation systems is crucial to prevent damage from freezing temperatures. Drain all water from pipes, sprinklers, and valves to avoid ice formation. Inspect the system for leaks or cracks and repair them before winter. Install freeze-proof faucets or insulate exposed pipes in unheated areas. Blow out lines with compressed air to ensure no water remains. Protect timers and controllers from cold weather by storing them indoors. Test the system in spring to ensure proper function. Regular winterization extends the lifespan of your irrigation system and ensures it performs efficiently when warmer weather returns.
Best Practices for Landscape Maintenance
Adopt consistent scheduling, use proper tools, and customize tasks for specific needs. Regular inspections and efficient documentation ensure a well-maintained landscape, enhancing both beauty and functionality.
7.1 Scheduling Maintenance
Scheduling maintenance is crucial for maintaining a healthy and visually appealing landscape. Create a timeline for daily, weekly, and seasonal tasks to ensure consistency and prevent neglect. Plan ahead by breaking down larger jobs into manageable steps. Use digital calendars or apps to set reminders for tasks like mowing, fertilizing, and pruning. Regular inspections help identify issues early, preventing costly repairs. Stick to your schedule to maintain plant health and aesthetic appeal. Adjust timelines based on seasonal changes and weather conditions to optimize results. A well-organized schedule ensures efficiency and keeps your outdoor space thriving year-round.
7.2 Using Proper Tools and Equipment
Using the right tools and equipment is vital for effective landscape maintenance. Invest in high-quality gear like lawn mowers, pruning shears, and irrigation systems to ensure precision and efficiency. Regularly maintain tools to prevent wear and tear, as dull blades or broken equipment can damage plants. Safety is key, so wear protective gear such as gloves and eye protection when operating machinery. Familiarize yourself with each tool’s purpose to avoid misuse, which can harm plants or hardscapes. Proper equipment not only enhances the beauty of your landscape but also reduces the risk of accidents and improves overall maintenance outcomes.
Benefits of Using a Landscape Maintenance Checklist
A landscape maintenance checklist offers numerous benefits, including improved organization and accountability. It ensures all tasks are completed on time, preventing oversight and maintaining consistency. By breaking down responsibilities, it reduces the burden of managing multiple tasks simultaneously. A checklist also enhances efficiency, as it streamlines workflows and minimizes wasted time. Regular tracking helps identify potential issues before they escalate, saving costs and effort. Additionally, it fosters adaptability, allowing adjustments based on seasonal changes or specific property needs. Overall, a checklist is a valuable tool for achieving a well-maintained, visually appealing outdoor space while reducing stress and improving overall landscape health.
Downloading and Using the Landscape Maintenance Checklist PDF
Downloading a landscape maintenance checklist PDF is a practical step toward organizing your outdoor space care. Reputable sources like Lumiform offer free, customizable templates designed to simplify maintenance. These PDFs typically include sections for daily, weekly, and seasonal tasks, ensuring no detail is overlooked. Once downloaded, you can print or digitally store the checklist for easy access. It allows you to track progress, set reminders, and customize tasks based on your property’s specific needs. Sharing the PDF with team members or contractors ensures everyone is on the same page, promoting consistency and efficiency in maintaining your landscape.
Customizing the Checklist for Specific Needs
Customizing a landscape maintenance checklist PDF allows you to tailor tasks to your property’s unique requirements. You can add or remove sections based on your yard’s size, plant types, and seasonal needs. For instance, properties with coastal locations may prioritize debris removal, while those in urban areas might focus on hardscape inspections. By editing the template, you ensure that all essential activities are covered, making maintenance more efficient and effective. This personalized approach helps address specific challenges and ensures your outdoor space remains vibrant and well-maintained throughout the year.
Sharing the Checklist with Team Members
Sharing the landscape maintenance checklist PDF with team members ensures everyone is aligned on tasks and responsibilities. Digital tools allow real-time updates and progress tracking, fostering accountability and efficiency. By distributing the checklist, team leaders can monitor working hours and identify areas for improvement. This collaboration enables seamless communication and ensures all tasks, from debris removal to fertilizing, are completed consistently. Sharing the checklist also helps in documenting work for clients, providing transparency and building trust. This approach streamlines operations and enhances the overall quality of landscape maintenance efforts. Regular updates keep the team informed and focused on achieving shared goals effectively.
Monitoring Progress and Efficiency
Monitoring progress and efficiency using a landscape maintenance checklist ensures tasks are completed on time and to standard. Regularly reviewing the checklist helps track completed activities and identify delays. Digital tools allow real-time updates, enabling team leaders to assess task completion rates and adjust schedules as needed. This oversight improves accountability and ensures no critical maintenance steps are overlooked. By analyzing progress, inefficiencies can be addressed promptly, optimizing resource allocation and enhancing overall performance. Continuous monitoring fosters a culture of accountability and ensures the landscape remains well-maintained, supporting long-term health and aesthetic appeal.
Reviewing and Updating the Checklist Regularly
Regularly reviewing and updating the landscape maintenance checklist ensures it remains relevant and effective. Seasonal changes, new equipment, or property modifications may require adjustments. Reviewing the checklist annually or semi-annually helps incorporate feedback from team members and adapt to evolving needs. Updates might include new tasks, revised frequencies, or improved methods based on performance data. This process keeps the checklist aligned with current best practices and property goals, ensuring continued efficiency and effectiveness in landscape care.