The Kubota RTV1100 Parts Manual PDF serves as a comprehensive guide for operators and technicians, detailing component specifications, assembly instructions, and troubleshooting steps. It includes clear diagrams, part numbers, and maintenance schedules, ensuring accurate repairs and optimal performance!!!!!

Historical Context of Kubota RTV1100
The Kubota RTV1100 was introduced in 2008 as a compact utility vehicle designed for agricultural and industrial use. Its design was influenced by Kubota’s long history of producing durable, low‑maintenance machinery. The 2.5‑liter, 4‑stroke diesel engine delivered 70 horsepower, balancing power with fuel efficiency. Its chassis borrowed elements from the X‑series, providing a sturdy frame while keeping weight low. The RTV1100’s suspension was tuned for rough terrain, enhancing operator comfort and payload stability. Kubota released several updates during the RTV1100’s production run, adding safety features and optional accessories. Rear‑utility screens, specialized tires, and upgraded transmissions were among the most requested additions. Feedback from operators worldwide guided these refinements, ensuring the RTV1100 stayed competitive. The parts manual PDF, published alongside the vehicle, became a vital tool for maintenance and repair. It detailed part numbers, wiring diagrams, and step‑by‑step procedures, mirroring the RTV1100’s evolving specs. Documenting each revision helped technicians maintain consistency across different production batches. The manual also provided guidance on replacing critical components such as the engine block, transmission, and suspension. Maintenance tips derived from the manual emphasized regular oil changes, filter replacements, and timely inspections. These practices extended the RTV1100’s operational lifespan, allowing operators to rely on the vehicle in diverse environments. Its legacy rests on reliability, adaptability, andfocusnow all
Purpose of the Parts Manual PDF
The Kubota RTV1100 Parts Manual PDF is designed to serve as the definitive reference for operators, technicians, and maintenance personnel working with the RTV1100 utility vehicle. Its primary purpose is to provide detailed, step‑by‑step instructions for identifying, removing, and installing every component that makes up the vehicle, from the 2.5‑liter diesel engine and its associated fuel and lubrication systems to the transmission, differential, braking, and electrical assemblies. By presenting clear schematics, part numbers, and exploded views, the manual eliminates guesswork and ensures that replacements are performed with the correct specifications and tolerances. In addition, the PDF contains a comprehensive maintenance schedule that outlines routine service intervals, fluid change recommendations, and inspection points, thereby extending the life of the RTV1100 and reducing downtime. The manual also includes troubleshooting guides that correlate common fault codes and symptoms with probable causes and corrective actions, allowing technicians to diagnose issues efficiently. For fleet operators, the document offers guidance on optimizing fuel economy, managing wear parts, and implementing preventive maintenance strategies. Finally, the PDF format allows for quick updates, easy distribution, and searchable content, making it an indispensable tool for ensuring safety, reliability, and compliance with manufacturer standards. It also supports warranty claims by providing accurate part sourcing and replacement guidelines, ensuring compliance daily!!.. This PDF is Kubota RTV1100 owners today.

Obtaining the Kubota RTV1100 Parts Manual PDF
Access the manual through Kubota’s official website, authorized dealers, or reputable third‑party repositories. Download the PDF, verify the file integrity, and store it on a local drive or cloud service for reference during maintenance tasks!!

Official Kubota Resources
For the most reliable and up‑to‑date Kubota RTV1100 Parts Manual PDF, the primary source is Kubota’s own digital library. Navigate to the official Kubota website, locate the “Support” or “Service” section, and enter the vehicle model or VIN. The portal will present a catalog of downloadable PDFs, including the full parts list, wiring diagrams, and factory service instructions. Authorized Kubota dealers also provide physical copies and can email the PDF directly upon request. If you are a registered dealer, log into the Dealer Portal, where a secure download link appears after selecting the RTV1100 series. For users in regions lacking direct web access, Kubota’s customer service hotline can mail a USB drive or printed manual. Additionally, the Kubota Parts Center offers a searchable database where you can retrieve the exact PDF by part number or model year, ensuring you receive the correct revision. Always verify the PDF version against the model year listed on your vehicle to avoid obsolete schematics. The official resources guarantee that the parts numbers, torque specifications, and revision notes are accurate, reflecting factory updates and safety notices. By using these channels, technicians and owners can confidently perform repairs, maintain compliance with warranty requirements, and keep the RTV1100 operating at peak efficiency.
Users can also access the Kubota Parts Center, which offers a searchable database of part numbers, revision histories, and technical bulletins. Kubota’s online portal hosts a forum where certified technicians share insights and best practices, enhancing the reliability of maintenance procedures. Stay updated with releases! Download now! Go!
Third-Party Download Sites
While Kubota’s official portal remains the gold standard for obtaining the RTV1100 Parts Manual PDF, a number of reputable third‑party platforms also host the file for users who prefer quick access or offline storage. These sites typically aggregate manuals from manufacturers, offering searchable databases that allow you to filter by model, year, and revision. Popular examples include ManualsLib, ManualsOnline, and PartSelect.com. Each platform provides a user‑friendly interface: after selecting “Kubota RTV1100” from the dropdown, the site lists downloadable PDFs with ratings to gauge accuracy! For instance, ManualsLib hosts a 2010‑2012 edition of the RTV1100 PDF sheets and and the wiring diagrams. Finally, many platforms offer subscription services granting unlimited access to a library of manuals with multiple Kubota models. Always respect copyright terms and ensure that the manual is used in compliance with Kubota’s licensing agreements.

Structure of the Kubota RTV1100 Parts Manual PDF
The manual is divided into clear sections: engine, transmission, hydraulics, electrical, and accessories. Each part list includes part numbers, diagrams, and step-by-step repair instructions enabling replacement of components for daily maintenance. and repair.
Table of Contents Overview
The Kubota RTV1100 Parts Manual PDF is organized into a logical sequence that mirrors the vehicle’s construction and service priorities. At the front, a concise front‑matter section presents the title, revision history, and a brief introduction that explains the purpose of the document and the scope of coverage. Following this, a detailed table of contents lists every major component group and sub‑section, each identified by a unique reference code. The layout is designed for quick navigation: the first column lists the section number, the second column provides a descriptive title, and the third column indicates the page range where the information can be found. This format allows a technician to locate the exact page for a specific part or procedure without having to scroll through the entire manual. The table of contents is grouped into the following broad categories: Vehicle Overview, Safety Information, Engine, Transmission, Hydraulic System, Electrical System, Cooling System, Fuel System, Exhaust System, Braking System, Steering, Suspension, and Accessories. Each category is further subdivided into sub‑sections that cover individual components, such as the cylinder head, oil pump, clutch assembly, or hydraulic cylinder. The manual also includes a glossary of terms, a list of abbreviations, and a section on common troubleshooting methods. The final pages provide a parts index, a list of recommended service intervals, and contact information for authorized Kubota dealers. This structured approach ensures that users can efficiently find the information they need, whether they are performing routine maintenance, diagnosing a fault, or replacing a worn component. It also features a quick‑search bar for instant part lookup in the PDF today.

Section Breakdown (Engine, Transmission, etc.)
Within the PDF, each major system is allocated a dedicated section that begins with a concise overview, followed by a detailed parts list, wiring diagrams, and step‑by‑step assembly instructions. The Engine section starts with a block diagram of the 4‑stroke, 2‑cycle power unit, then enumerates components such as the cylinder head, crankshaft, camshaft, oil pump, and fuel injection system. Each part is assigned a unique part number, a brief description, and a reference to its schematic location. The Transmission section covers the manual gearbox, clutch assembly, and torque converter, providing gear ratios, shift patterns, and torque limits. The Hydraulic System section details the pump, reservoir, valves, and pressure ratings and recommended service intervals. The Electrical System section lists the battery, alternator, starter, ignition coil, and sensor array, with wiring harness diagrams and fault‑diagnosis tips. The Cooling System section explains the radiator, thermostat, water pump, and fan assembly, while the Fuel System section covers the tank, filter, and fuel lines. The Exhaust System section documents the muffler, catalytic converter, and tailpipe, and the Braking System section provides brake pad, caliper, and master cylinder specifications. The Steering and Suspension sections describe the steering rack, tie rods, shock absorbers, and wheel bearings. Finally, the Accessories section catalogs optional equipment such as cargo racks, winches, and lighting kits for detailed guidance.

Using the Parts Manual PDF Effectively
Use the search bar to locate part numbers quickly. Bookmark sections and reference the schematic index. Follow the step-by repair instructions, noting torque specs and safety warnings. Keep the PDF updated to match model revisions for maintenance. Download PDF!
Searching for Specific Parts
When navigating the Kubota RTV1100 Parts Manual PDF, the most efficient method for locating a component is the built‑in search function. Press Ctrl+F (or Cmd+F on macOS) to open the search bar, then type the exact part number or a keyword such as “fuel filter” or “hydraulic pump.” The PDF viewer will highlight every instance, allowing you to jump directly to the relevant page with the Next and Previous buttons.
For large manuals, the index at the back lists parts alphabetically. Use the index to find the page number, then cross‑reference with the schematic section. Many PDFs also contain a “Parts List” page that aggregates all numbers and descriptions; this can be saved as a separate document for quick reference. Bookmark frequently used pages by clicking the star icon in the toolbar, and create a custom folder in your PDF reader to store these bookmarks for future sessions.
When the manual is versioned, be sure to verify the revision date at the top of the first page. Parts may have changed between 2009 and 2011 models, so double‑check the part number against the latest revision. If you encounter a missing page or a broken link, download the most recent PDF from the official Kubota website or a reputable third‑party source. Finally, keep a printed copy of the critical parts list for on‑site reference, especially when working in remote locations without reliable internet access.
Some PDF readers support advanced search options like case sensitivity, whole word, or regular expressions. Enabling “Whole Word” ensures that searching for “B10” does not return unrelated “B10A” entries. Additionally, you can export the search results to a list for offline use. This feature is handy when you need to compare part numbers across multiple pages or models.
Use the search history to revisit frequently accessed parts quickly, and consider saving a PDF copy of the search results for future reference. and note page num?!
Quick index lookup saves time, efficiency!.
Interpreting Part Numbers and Schematics
In the Kubota RTV1100 Parts Manual PDF, each part number follows a standardized format that encodes the component type, size, and compatibility. The first two digits typically identify the system (e.g., “01” for engine, “02” for transmission), followed by a three‑digit series that distinguishes individual items. A trailing letter indicates a variant or revision. For example, a part number “010-123A” refers to the first engine series, item 123, revision A. When cross‑checking with the schematic, the manual places the part number directly beside the corresponding component in the diagram, allowing quick visual confirmation.
The schematic legend uses standardized symbols: a circle denotes a sensor, a square a switch, and a triangle a valve. Color coding indicates voltage levels—red for high, yellow for medium, blue for low. Solid lines represent live circuits, while dashed lines show ground or return paths. By matching these visual cues with the part list, technicians can quickly identify the exact component needed for a repair.
When a part number appears in multiple locations, the manual uses superscript symbols: an asterisk (*) marks a common part used in several assemblies, while a hash (#) indicates a unique part exclusive to a specific sub‑assembly.
The “Revision History” table lists original and revised part numbers, dates, and reasons such as material upgrades. A “Quick Reference Sheet” condenses the most used part numbers with schematic locations for repairs.

Common Issues and Troubleshooting with Kubota RTV1100
Common problems include engine misfires, hydraulic leaks, and electrical faults. The manual lists diagnostic steps, part replacements, and torque specs. Follow the troubleshooting flowcharts, verify part numbers, and use the service intervals to prevent recurring issues. Check service log for patterns ASAP!!
Replacing Critical Components
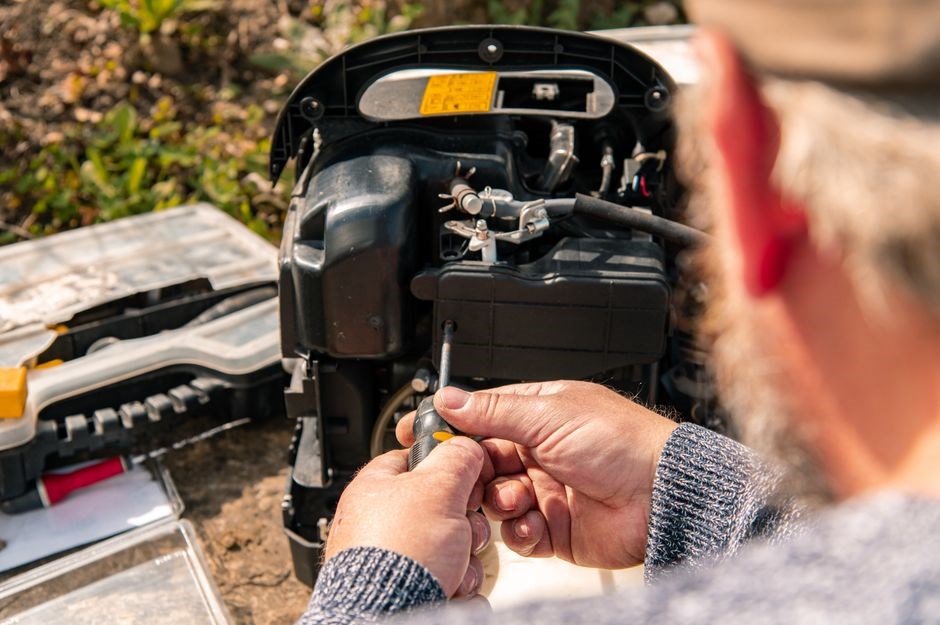
When a Kubota RTV1100 component reaches the end of its service life, the parts manual PDF provides step‑by‑step guidance for safe removal and installation. Start by consulting the “Critical Parts” table, which lists part numbers, torque values, and recommended intervals. For example, the engine oil filter (part 12345) requires a 12 lb‑ft torque on the filter housing bolt. Use a calibrated torque wrench and follow the sequence: 1) drain the oil, 2) remove the filter housing, 3) install the new filter, 4) tighten to spec, and 5) refill with the correct oil grade. The transmission clutch plate (part 67890) is accessed by lifting the transmission cover and removing the clutch bolts in a star pattern; torque the bolts to 35 lb‑ft. If the hydraulic pump (part 24680) leaks, replace it by first disconnecting the hydraulic lines, removing the pump mounting bolts, and installing the new pump with the supplied sealant. Always verify that the new part’s serial number matches the one on the service record. After installation, perform a leak test and run the RTV1100 through a full cycle to ensure proper operation. The manual also advises checking the timing belt tensioner after any major replacement; use the tension gauge provided and adjust to the manufacturer’s spec. By following these procedures, technicians can reduce downtime and maintain the vehicle’s reliability. Additionally, the manual includes a troubleshooting matrix that cross‑references symptoms with potential causes, enabling diagnosis and minimizing repair time. All steps meet Kubota standards.
Maintenance Tips Derived from the Manual
According to the Kubota RTV1100 Parts Manual PDF, routine maintenance is essential for longevity and performance. The manual recommends inspecting the engine oil level every 500 hours and changing the oil and filter at 1,000 hours or 12 months, whichever comes first. Use the specified 10W‑30 synthetic blend and the OEM filter (part 12345). The coolant system should be flushed and refilled with the 5‑W‑30 antifreeze every 2,000 hours; the radiator cap and hoses are inspected for cracks or leaks. The transmission fluid is to be replaced every 3,000 hours, and the manual provides the exact torque sequence for the clutch release bearing bolts (part 67890). Tire pressure should be checked monthly, maintaining the manufacturer’s recommended 35 psi for the front and 45 psi for the rear. The brake system requires a brake fluid flush every 1,500 hours; the manual lists the correct fluid type (DOT 4) and the procedure for bleeding the brakes. The electrical system is maintained by cleaning the battery terminals and checking the alternator output; if the alternator output falls below 13.5 volts, a replacement is advised. The manual also advises inspecting the drive belt for wear and replacing it at 4,000 hours. For the hydraulic system, the reservoir should be checked for contamination and refilled with the specified hydraulic fluid (part 24680). Additionally, the manual highlights the necessity of cleaning the air intake filter every 1,200 hours to avoid reduced airflow and engine knock. The manual includes a maintenance log sheet that should be filled out after each service event, noting the date, hours, parts replaced, and any observations. For operators in colder climates, the manual recommends installing a block heater (part 98765) and running it for at least 30 minutes before starting the engine to ensure proper lubrication. Moreover, the manual advises checking the suspension bushings for wear and replacing them when they become hard or cracked, which can affect ride quality and steering precision. The manual also provides a detailed procedure for aligning the wheels, which involves using a torque wrench to set the wheel lug nuts to 80 lb‑ft and then performing a dial indicator check to ensure proper alignment within ±0.5 mm. Finally, operators should keep the manual updated by downloading the latest revision from Kubota’s official website, as part numbers and specifications may change with each firmware update. Adhering to these guidelines guarantees the RTV1100 remains reliable and efficient throughout its service life.