Choosing the Right National Park for Your Family
Choosing the right national park for your family involves considering your kids’ ages‚ interests‚ and energy levels. Opt for parks with kid-friendly trails‚ wildlife viewing‚ and amenities like picnic areas and restrooms. Check for seasonal activities and educational programs like Junior Ranger to keep children engaged and learning during your adventure.
Factors to Consider When Selecting a National Park
When selecting a national park for your family‚ consider trail difficulty‚ park size‚ and kid-friendly amenities. Evaluate your children’s energy levels and interests to choose parks with engaging activities like wildlife viewing or educational programs. Check for amenities such as picnic areas‚ restrooms‚ and accessible trails. Seasonal factors like weather and crowd levels are also crucial; Ensure the park offers a balance of adventure and relaxation to cater to all family members’ needs.
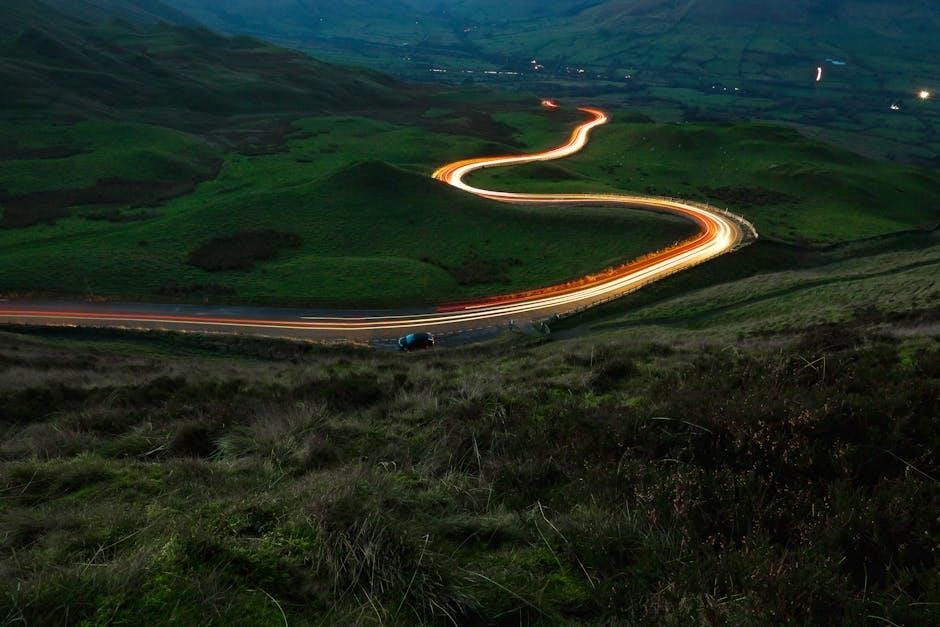
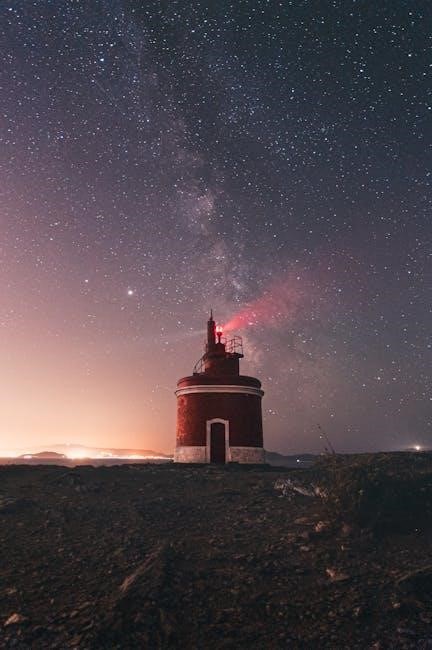
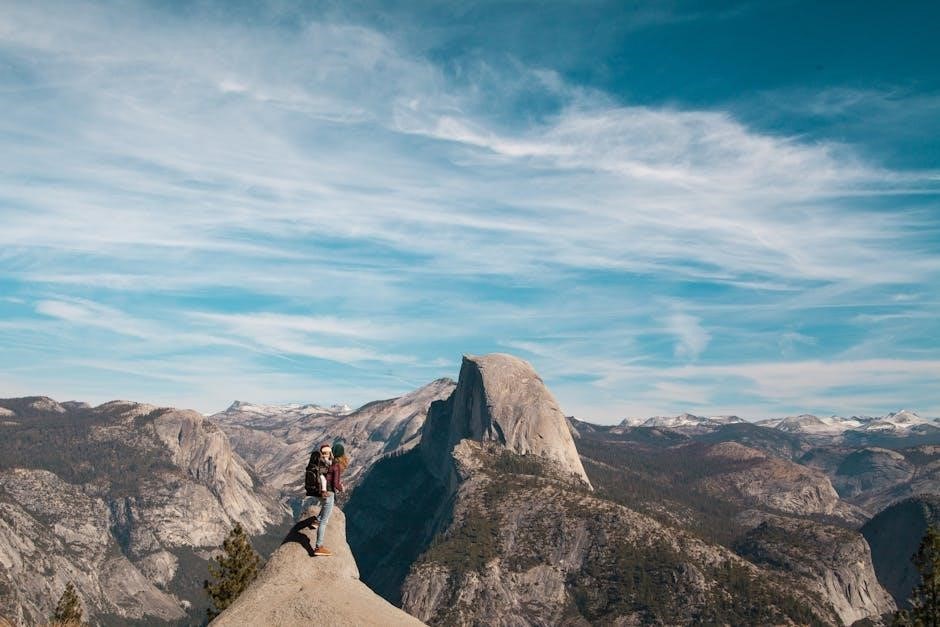
Top Family-Friendly National Parks in the U.S.
Yellowstone National Park offers geysers and wildlife‚ while Yosemite provides kid-friendly trails and Junior Ranger programs. Zion National Park features stunning canyons with hiking and swimming opportunities. The Grand Canyon is ideal for educational programs and scenic views. Great Smoky Mountains National Park is renowned for its biodiversity and accessible trails. These parks offer a mix of adventure‚ education‚ and relaxation‚ making them perfect for families with kids of all ages.
Planning Your National Park Trip
Plan ahead by checking park rules‚ weather‚ and trail conditions. Create an itinerary balancing activities and downtime. Ensure safety and fun for all family members.
How to Create a Budget for Your Family Trip
Estimate costs for entrance fees‚ food‚ lodging‚ and activities. Allocate funds for gear and souvenirs. Use budgeting apps to track expenses. Consider packing snacks to save on meals. Plan free or low-cost activities‚ like hiking or Junior Ranger programs. Set aside money for unexpected expenses. Check for discounts or annual passes. Prioritize spending based on your family’s preferences to ensure a fun and stress-free trip while staying within your budget.
Best Times to Visit National Parks with Kids
Timing is crucial for a family-friendly trip. Visit during shoulder seasons (spring or fall) to avoid crowds and enjoy mild weather. Plan around school breaks to maximize family time. Check park calendars for kid-friendly events or ranger programs. Avoid peak summer months if possible‚ as trails can be crowded and hot. Consider visiting early in the morning or late in the afternoon for a more relaxed experience. Always check weather and trail conditions before heading out.
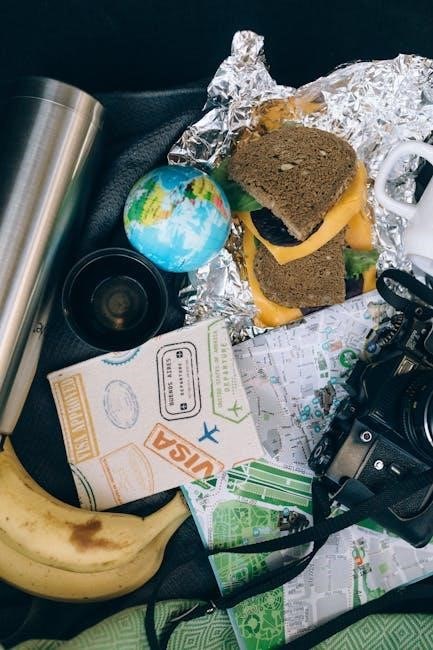
Packing Essentials for a National Park Adventure
Bring water‚ snacks‚ extra clothes‚ sunscreen‚ and a first-aid kit. Include sturdy shoes‚ a map‚ and binoculars for wildlife viewing. Don’t forget kid-friendly entertainment and reusable containers.
Must-Have Items for Kids
Pack essentials like water‚ snacks‚ and extra clothes to keep kids comfortable. Include sunscreen‚ a first-aid kit‚ and kid-friendly bug spray. Bring reusable water bottles‚ sturdy shoes‚ and a small backpack for carrying their gear. Don’t forget entertainment like coloring books‚ crayons‚ or a portable game. A small flashlight or headlamp can make adventures exciting‚ while binoculars help spot wildlife. Reusable containers and eco-friendly items promote sustainability. Keeping kids engaged and prepared ensures a fun‚ stress-free experience.
Packing Tips for Hiking and Outdoor Activities
For family hikes‚ pack lightweight‚ durable gear. Include reusable water bottles‚ energy-rich snacks‚ and a small first-aid kit. Dress kids in breathable‚ layered clothing and sturdy footwear. Bring a map‚ compass‚ and extra batteries. Use a backpack with compartments to keep items organized. Don’t forget a portable phone charger and a small emergency whistle. Avoid overpacking to keep kids comfortable. Always check weather forecasts and add rain gear or extra layers if needed. Ensure everyone carries a small flashlight or headlamp for visibility.
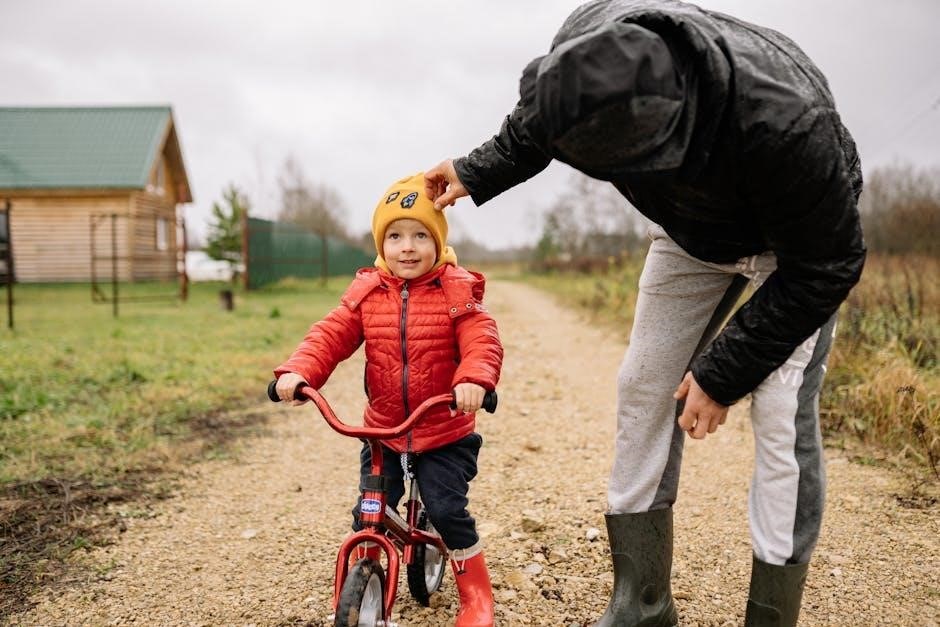
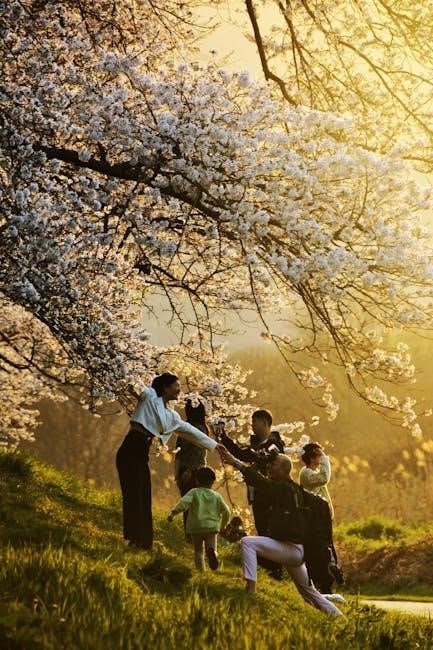
Hiking with Kids in National Parks
Hiking with kids requires patience and preparation. Choose trails suited to their age and energy‚ encouraging exploration while ensuring safety. Make it fun and interactive!
How to Keep Kids Engaged on Hikes
Keep kids engaged by turning hikes into adventures. Use scavenger hunts to spot wildlife‚ plants‚ or unique rocks. Encourage storytelling or role-playing along the trail. Assign roles like “leader” or “photographer” to give them purpose. Pack snacks and water to keep energy levels up. Allow time for breaks and exploration‚ letting them lead the way occasionally. Point out interesting sights and explain their significance‚ sparking curiosity and making the hike a memorable experience for the whole family.
Safety Tips for Family Hikes
Ensure a safe family hiking experience by planning ahead. Carry essentials like water‚ snacks‚ maps‚ and a first-aid kit. Check weather forecasts and trail conditions before heading out. Inform someone about your route and expected return time. Teach kids to stay on marked trails and avoid wildlife. Pack extra layers and sunscreen for changing conditions. Bring a whistle for emergencies and ensure everyone knows basic safety rules. Always supervise children and make safety a habit to enjoy stress-free adventures.
Staying Safe in National Parks
Plan ahead‚ inform someone of your route‚ and carry essentials like water and a map. Be wildlife-aware and keep kids close to ensure a safe adventure.
Important Safety Rules for Kids
Teach children to stay close to adults and never wander off. Establish a meeting spot in case of separation. Carry a whistle for emergencies and ensure kids know basic survival skills. Remind them to respect wildlife by staying at a safe distance and never feeding animals. Always carry water‚ snacks‚ and a map. Teach kids to avoid touching plants or eating unknown berries. Ensure they understand the importance of staying on marked trails and following park rules.
What to Do in Case of Wildlife Encounters
If you encounter wildlife‚ stay calm and keep a safe distance. Never feed or approach animals‚ as this can be dangerous. Teach kids to remain still and quiet‚ avoiding sudden movements. If a bear is present‚ make yourself look larger and slowly back away. For snakes‚ stay motionless and give them space. Always carry bear spray and know how to use it. Educate children on these rules to ensure everyone’s safety during outdoor adventures.

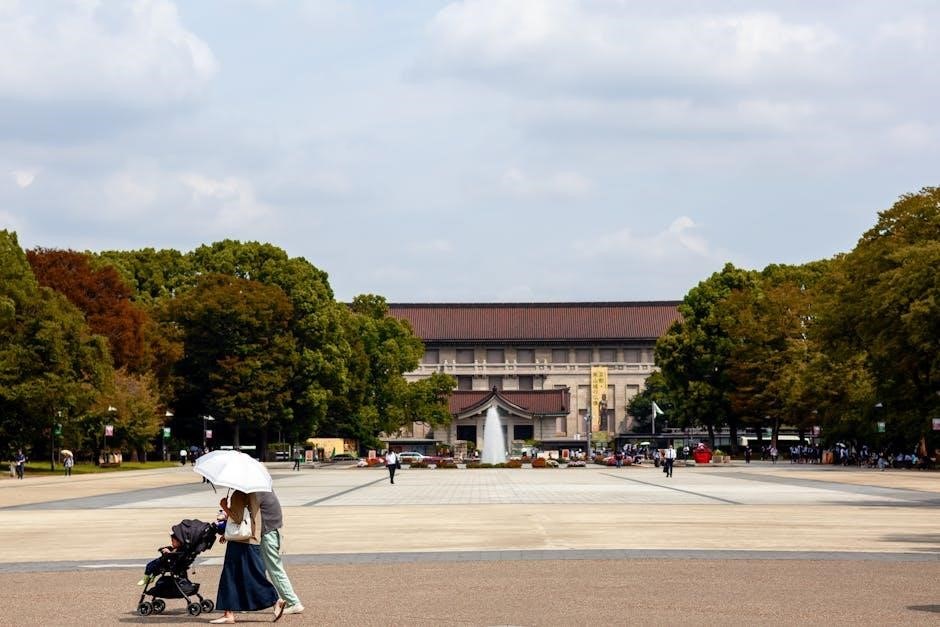
Accommodation Options for Families
National parks offer diverse lodging options for families‚ including campsites‚ cabins‚ and nearby hotels. Choose based on your family’s needs for comfort and convenience during stays.
Camping with Kids: Tips and Tricks
Plan ahead by choosing kid-friendly campsites with amenities like restrooms and water access. Pack essentials such as sleeping bags‚ flashlights‚ and easy meals. Teach kids about campfire safety and wildlife etiquette. Keep them engaged with nature scavenger hunts and stargazing. Bring outdoor toys and games for downtime. Assign small tasks to involve them in setup and cleanup. Consider bringing a portable stove for quick meals. Don’t forget to emphasize conservation and leaving the site as you found it.
Family-Friendly Lodges and Hotels Near Parks
Choose lodges or hotels near national parks that cater to families‚ offering amenities like pools‚ game rooms‚ and kid-friendly dining. Look for options with spacious rooms or suites to accommodate larger families. Many lodges provide guided nature walks or children’s programs‚ enhancing the outdoor experience. Opt for locations with easy access to park entrances to minimize travel time. Some hotels also offer babysitting services or kids’ clubs‚ giving parents a break. Always check for family-specific packages or deals to save costs.
Educational Opportunities in National Parks
National parks offer ranger-led programs‚ interactive exhibits‚ and Junior Ranger activities‚ providing hands-on learning experiences for kids. These programs foster curiosity and a love for nature.
Junior Ranger Programs for Kids
National parks offer Junior Ranger programs designed for kids to explore and learn about nature. These interactive activities include hikes‚ wildlife spotting‚ and educational games. Children earn badges upon completing tasks‚ fostering a sense of accomplishment. The programs cater to various age groups‚ teaching conservation and outdoor skills. They encourage kids to engage with the environment while having fun. This hands-on learning experience helps build a lifelong appreciation for nature and wildlife.
Self-Guided Educational Activities
Self-guided educational activities allow families to explore national parks at their own pace. Use park brochures or apps to identify plants‚ animals‚ and landmarks. Create a nature scavenger hunt or observation journal to encourage kids to engage with their surroundings. These activities promote curiosity and learning while fostering a deeper connection to nature. They also provide flexibility‚ allowing families to adapt their exploration to their children’s interests and energy levels‚ making the experience both fun and educational.
Connecting with Other Families
Connecting with other families in national parks can enhance your experience. Join family-friendly tours or group hikes‚ and engage in shared activities like wildlife watching or educational programs.
Joining Family-Friendly Tours and Groups
Joining family-friendly tours and groups is a great way to explore national parks with kids. Many parks offer guided tours designed for families‚ ensuring engaging and safe experiences. These tours often include interactive activities‚ wildlife spotting‚ and educational insights. Booking group tours can also provide opportunities for kids to make new friends. Don’t forget to check park schedules and book in advance‚ as popular tours fill up quickly. This approach ensures a fun and memorable adventure for the whole family.
Meeting Fellow Travelers at Campgrounds
Campgrounds in national parks are excellent places to connect with other families and fellow travelers. Engage in casual conversations during campfire gatherings or shared meals. Many campgrounds host group activities‚ such as nature talks or stargazing events‚ which are perfect for meeting like-minded families. Encourage your kids to participate in these interactions‚ fostering friendships and shared memories. These encounters can lead to valuable tips and insights for exploring the park together‚ enhancing your overall experience.
Capturing Memories of Your Trip
Capturing memories of your trip involves more than just photos. Encourage your kids to keep a travel journal‚ collect small souvenirs‚ or create art inspired by nature. Scavenger hunts and family photo sessions can make your adventures unforgettable. These activities help create lasting memories and a deeper connection to the natural wonders experienced together.
Photography Tips for Families
Capture meaningful moments by involving your kids in photography. Use simple cameras or smartphones to keep it fun. Opt for golden hour lighting for vibrant colors and softer shadows. Encourage kids to take photos of what interests them‚ fostering creativity. Be patient and spontaneous‚ as candid shots often tell the best stories. Include the whole family in frames and consider using tripods for group shots. Remember‚ the goal is to create lasting memories‚ not just perfect images.
Creating a Travel Journal with Kids
Engage your kids in documenting your national park adventures by creating a travel journal. Encourage them to write about their favorite experiences‚ draw sketches of landscapes‚ and collect small mementos like leaves or ticket stubs. Use photos‚ stickers‚ and colorful pens to make it fun. Reflecting on the day’s events fosters storytelling and gratitude. This keepsake will capture memories and serve as a cherished family heirloom for years to come.
Eco-Conscious Travel with Kids
Teach kids to reduce waste by using reusable containers and water bottles. Encourage respect for nature by staying on trails and not feeding wildlife‚ promoting conservation values.
Teaching Kids About Conservation
Teach children the importance of conservation by explaining how their actions impact the environment. Encourage participation in park programs like the Junior Ranger Program‚ which offers interactive learning. Instill values by practicing what you preach—use reusable water bottles‚ stay on designated trails‚ and avoid feeding wildlife. Engage kids in hands-on activities like clean-up initiatives or nature scavenger hunts to foster a connection with nature. Leading by example helps them understand the significance of preserving our natural wonders for future generations.
Reducing Waste During Your Trip
Minimize your environmental footprint by bringing reusable items like water bottles‚ bags‚ and containers. Avoid single-use plastics and pack snacks in eco-friendly wrappers. Encourage kids to participate in waste reduction by explaining the impact of litter. Properly dispose of trash in designated bins and avoid leaving items behind. Teach your family to leave natural spaces as they were found‚ preserving them for future generations. Small actions can make a big difference in protecting our parks.